
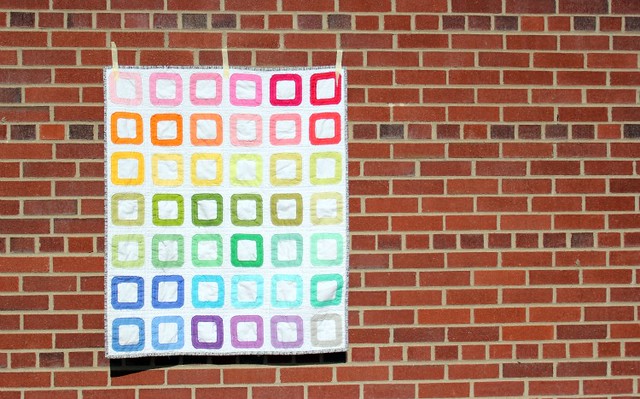
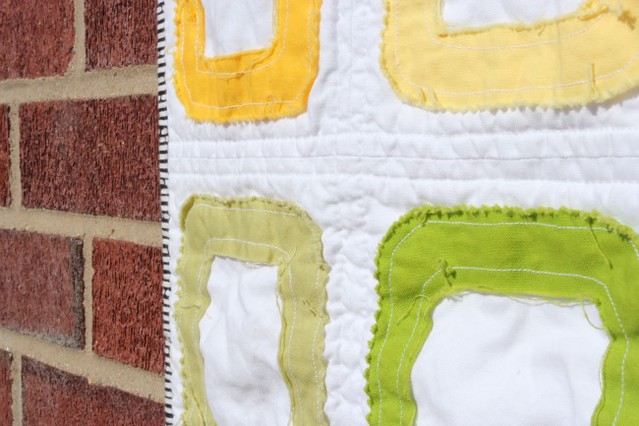
raw edge pez quilt.
finished size: 36" x 42"
materials needed.
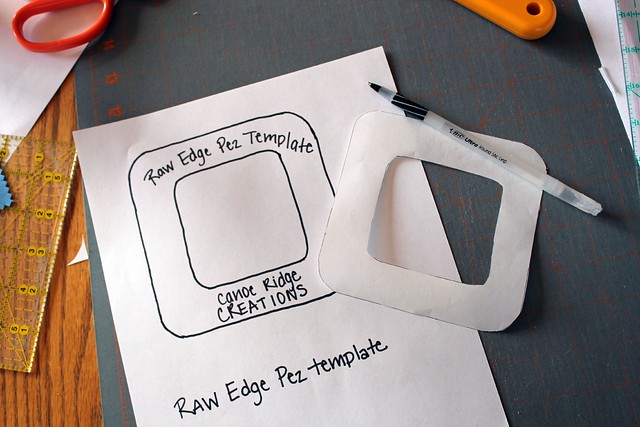
raw edge pez template
raw edge pez template
1 charm pack or 42 - 5" squares
1 1/3 yards of background fabric
1/2 yard of binding fabric
a 40" x 46" piece of batting
1 1/3 yards of backing fabric
cutting instructions.
from the background fabric, cut:
42 - 6 1/2" squares
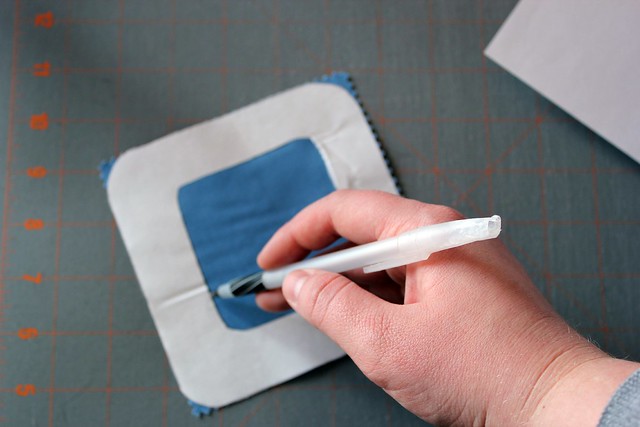
step two. using a medium to high heat iron, press freezer paper template onto a charm square (5" square). trace the template onto the fabric.

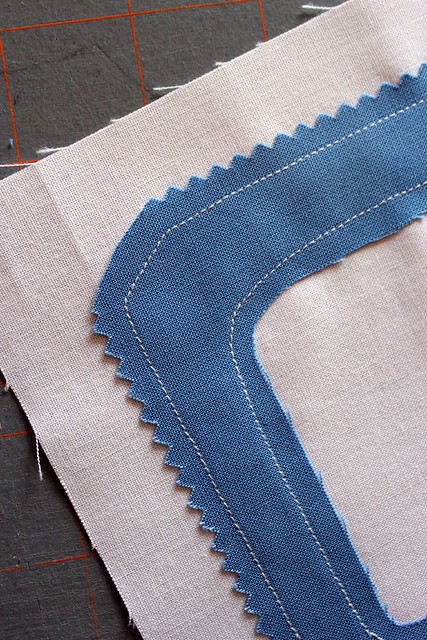
step three. using a scissor, cut out your fabric pez shape following the lines drawn.

step four. center your pez shape onto a 6 1/2" square of background fabric. pin in place.
----------
repeat to the remaining charm squares until you have 42 blocks in total.
layout your raw edge pez quilt, 6 blocks x 7 blocks. sew blocks together.
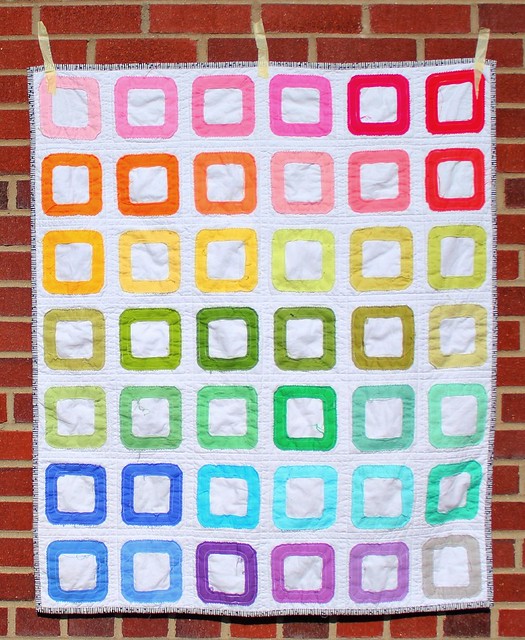
quilt, bind, wash, and enjoy! the beauty with this raw edge pez quilt is the more you wash it, the softer it gets.
if you make a raw edge pez quilt like this please share it in the Canoe Ridge Creations flickr group -- i would love to see YOUR creations!
xo, megan.


This is so cool! Love the idea of the raw edges. A great twist on the pez design :-)
ReplyDeleteI just love the idea of how soft and cuddly this must be!! Thank you for the how to.. I pinned it for later!
ReplyDeleteSo cool Megan! Congratulations on being featured on Modern Day Quilts!!
ReplyDeleteThis is wonderful! Looks like a great texture :)
ReplyDeleteOoo Thanks for the tutorial. =D
ReplyDeleteGreat quilt, Megan!
ReplyDeletethis is a REALLY fun quilt... visions of the same shape with some other fabric types and/or color options are dancing my head...thank YOU for the inspiration!
ReplyDelete-Maybe a black backround with bright colors.
-something with batiks
-different textured fabrics, like large and small corduroy, felts, flannels, etc
hugZ,
annie
anniesrubyslipperz.com
I really like the look of this quilt! Thank you so much for sharing your tutorial.
ReplyDeletethanks for sharing- this looks like lots of fun. Love your colors!
ReplyDeleteIt really great freezer paper in the project it make a tracing cutting fabric out a whole freezer paper.It look so stylist and designer.
ReplyDeleteShed