
In my last blog post I shared how to make & attach double fold binding to a quilt, one of my favorite parts of quilting. Today I'll be sharing helpful tips + step-by-step instructions showing you how to hand stitch & finish your binding. I find this to be one of the most enjoyable & rewarding parts of quilting and hope you will too!
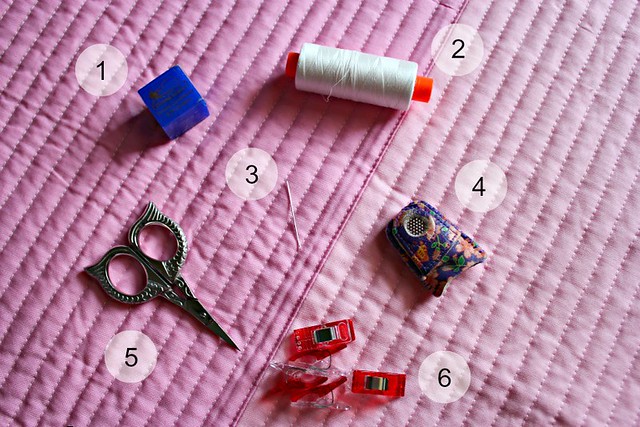
:: HELPFUL TOOLS ::
[1] Thread Heaven, a thread conditioner & protector. This is a great product for all types of hand stitching, not only binding. It helps keep your thread from breaking, eliminate tangles & knots, and from fraying -- yay!
[2] Thread. Choose a thread that matches your binding to help "hide" your stitches. I like to use a cotton thread, like Aurifil.
[3] Needle. I use John James: Sharps, size 11.
[4] Thimble. This Clover Leather Coin thimble is my favorite -- find one that fits + is comfortable to you!
[5] Scissor. A little one for clipping threads is perfect.
[6] Binding Clips. I like to use Clover Wonder clips, hair clips work too.
:: HAND STITCHING ::

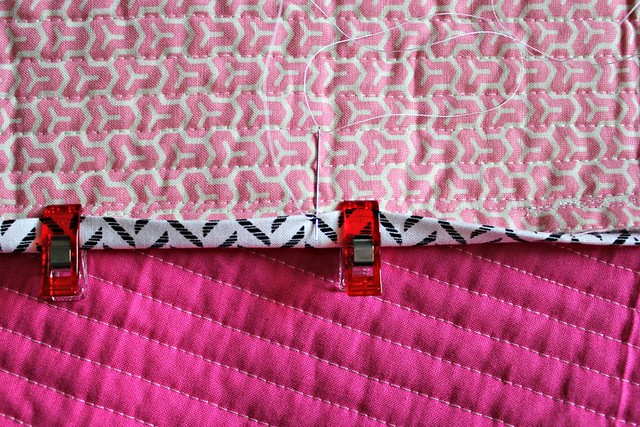
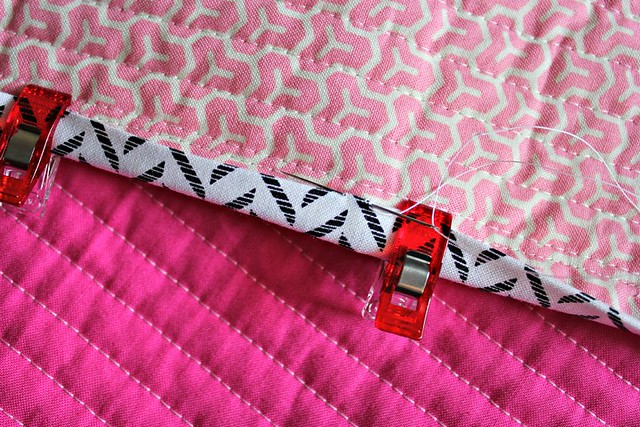
Start by folding the binding to the back of the quilt, making sure to cover the stitch-line made from machine sewing the binding to the front of the quilt. Place binding clips every 5" to 8" to help hold it in place. I like to work with one edge of the quilt at a time.
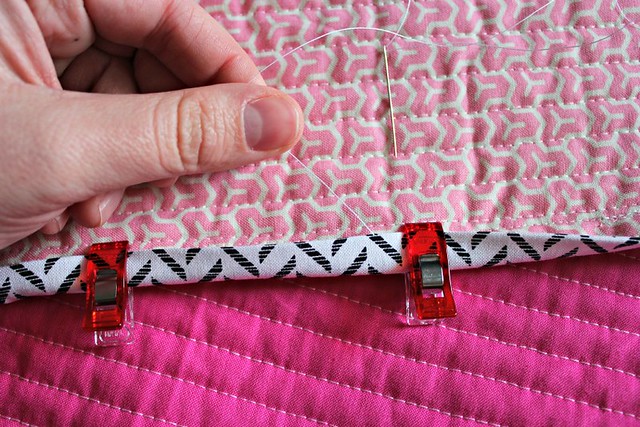
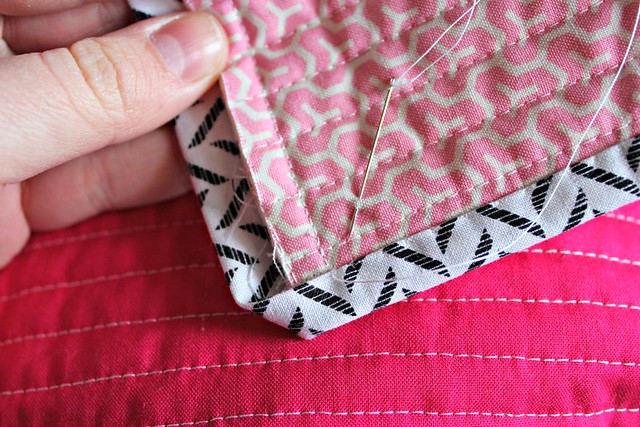
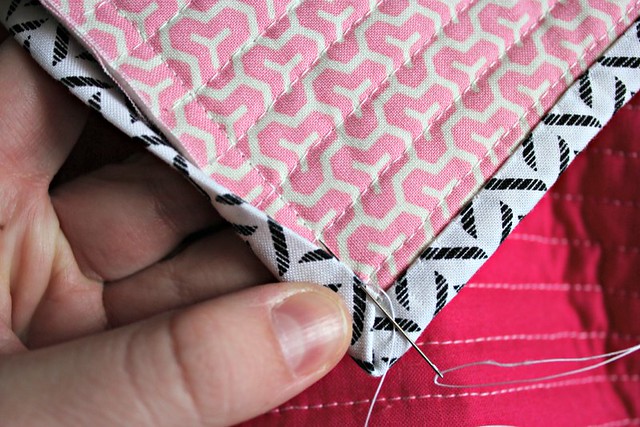
Thread (don't forget the Thread Heaven!) and knot your needle. Take a stitch through the edge of the binding, hiding the knot between the quilt & binding.
Take a small stitch through the back of the quilt and the edge of the binding. Pull the thread tight.

Take a small stitch through the back of the quilt and the edge of the binding. Pull the thread tight.
Continue, every 1/4", until you've reach the corner. Take an extra stitch in the corner to secure it.
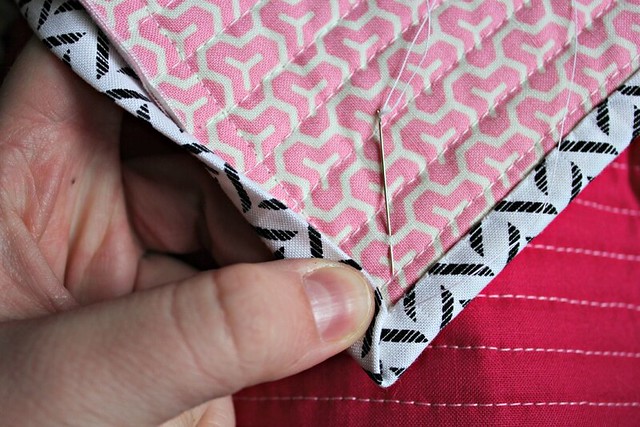
Turn the quilt & fold over the corner + next side of the binding, making sure to cover the machine stitch-line from sewing the binding to the front of the quilt.
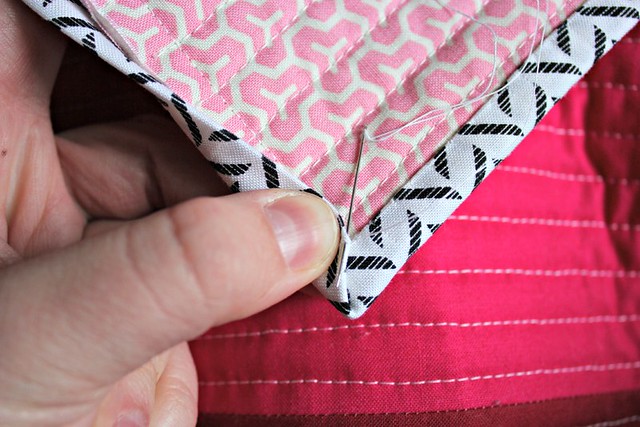
Take an extra stitch or two, through the back of the quilt and the binding, in the corner to secure it.
Continue working your way around the quilt & the remaining three corners. Note: When changing threads, make sure to hide the knot between the quilt and binding.
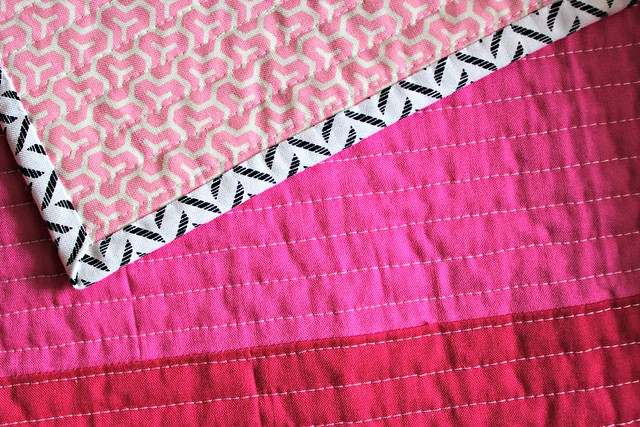
Your finished binding should look like this.
The binding fabric I used in this tutorial is Tempo by Kanvas for Benartex Fabrics, you can find it at Fat Quarter Shop.
Happy binding,
xo, Megan.


probably a stupid question but how do you bury your knot after you run out of thread and at the end of your quilt? I always have a little knot...
ReplyDeleteThese two tutorials are great! I'm guessing Thread Heaven would solve my crazy thread problems. The obvious question is: where did you get that adorable Clover thimble? I haven't seen anything like it other than the plain leather ones! Again, thanks for a great tutorial!
ReplyDeleteWe do our bindings SO similar! I run my needle through the fold too, it's so much cleaner looking that way. Your pictures are crisp and beautiful and the instructions are clear. Great tutorial, Megan!
ReplyDeleteVery beautiful quilt..looking so nice and beautiful design and color combination.
ReplyDeleteCardiac Surgery India
That looks like French Fold binding, not double fold binding.
ReplyDeleteThis quilt looks great and thanks for another great tutorial!! I think this method is known by both names, I've heard it more commonly as double fold binding.
ReplyDeleteNicely done! Hope it's ok I shared on A Quilter's Table fb page...
ReplyDeleteVery nice quilting..i like the color combination very nice ..looking very fresh..I have bookmark this tutorial. Thank you for the post.
ReplyDeleteOncology & Cancer Surgery India
very nice quilt..i like your finishing in the quilt. looking so nice and very nice color.
ReplyDeleteBest Hospital India
Very nice i really like it.
ReplyDeleteThimble
What is the fabric on the back of this quilt called? The pink and white one. Great tutorial, thanks!
ReplyDeleteLovely!
ReplyDeleteAwesome work. Thanks for sharing.
ReplyDeletelyfboat