Hello, friends!
We recently made a move (for Brandon's job) about 200 miles south of where we'd been living, now to the middle of Iowa. In the 3 weeks we had to pack everything and move, I made it a point to get my sewing room picked up and (more importantly!) organized. With that came dealing with my scraps. I'll admit, I have a love/hate relationship with scraps. Most of that hate came from not having all the scraps in one place & especially from them not being organized. When we actually made the move I had 3 -- yes THREE -- large plastic totes FULL of scraps. What the what?! It just proved that my scraps are out.of.control. With all that being said, I'm on a mission to use up my scraps!
So I officially welcome you to a new blog series called Oh Scrap! I'll be sharing different tutorials, tips & tricks all about -- you guessed it -- SCRAPS. I sure hope you'll join along -- please share your scrap love using #ohscrap on social media so we can all cheer each other on!
Now fast forward to this past week, I won a scrap bundle from 1canoe2 on Instagram. Yay, even more scraps! I met Beth at this past Quilt Market in Minneapolis and I love, love, LOVE their new collection, Tucker Prairie, with Moda Fabrics. I mean buy all the fabric, make all the things kind of love. So naturally, I was beyond thrilled when the package arrived in the mail. You may have seen my picture I shared on Instagram & Facebook.
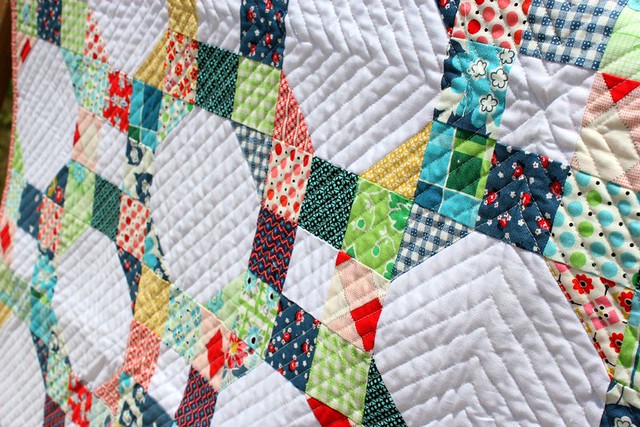
That's when the Scrappy Chain design was born -- I loved it so much that I decided to put together a tutorial for you all! This is a fast & easy way to bust through some scraps and have fun along the way. Let's get started!
For this quilt, you'll need:
- Background Fabric
- Accent Fabric
- Assorted Scraps (at least 2" square)
This quilt uses two different block designs, we are going to call them Block A & Block B. First up, let's look at Block A.
For BLOCK A, you'll need:
- 33 scrappy squares, each measuring 2" x 2"
- 12 accent fabric squares, each measuring 2" x 2"
- 4 background fabric squares, each measuring 2" x 2"
Layout your block using the flowing diagram as a guide, first sewing your squares into rows. Then the rows into a finished BLOCK A. Sew using a 1/4" seam allowance & press seams as desired. With something like this, I prefer to press my seams in alternating directions. It makes for nested seams & perfectly matching points.
Finished BLOCK A measures 10 1/2" x 10 1/2" (unfinished 11" x 11").
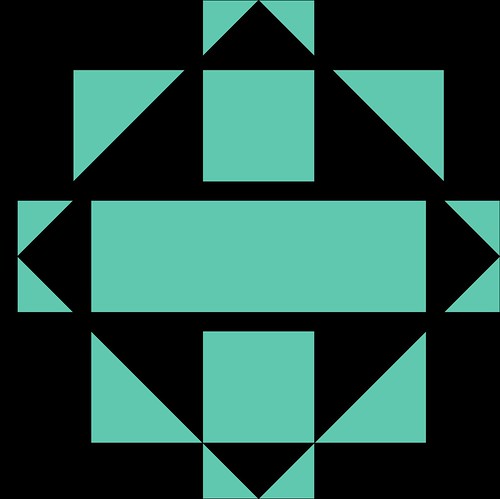
For BLOCK B, you'll need:
- 4 scrappy squares, each measuring 2" x 2"
- 8 accent fabric squares, each measuring 2" x 2"
- 2 background fabric rectangles, each measuring 2" x 5"
- 2 background fabric rectangles, each measuring 2" x 8"
- 1 background fabric rectangle, measuring 5" x 11"
Layout your block using the flowing diagram as a guide, first sewing your pieces into rows. Then the rows into a finished BLOCK B. Sew using a 1/4" seam allowance & press seams as desired.
Finished BLOCK B measures 10 1/2" x 10 1/2" (unfinished 11" x 11").
The overall layout of the quilt alternates between these two blocks -- Block A & Block B. Pretty easy, huh?
I've already whipped up a few blocks and am loving the process so far! Want in on a little secret that I like to use when starting a new project? Finish a block (or in this case two), take a picture of them using your phone, and then use a mosaic app to get a sneak peek on what the final layout is going to look like -- I use PicFrame on my iPhone!
Now let's talk layouts & size. I'll be back tomorrow with a few images and cutting requirements for several different sizes -- mini quilt on up! -- but ultimately, it's up to you. I hope you find this design easy to adapt to what ever fabric scraps (or stash!) you want.
Please share, share, SHARE your progress pictures -- scrap/fabric pulls, cutting, whatever you like! -- using #ohscrap, #scrappychain, and #canoeridgecreations. Let's cheer each other on and bust through some scraps!
xoxo, Megan