Showing posts with label #ohscrap. Show all posts

Friday, April 19, 2019

Introducing The Scrappy Carrot Block Pattern


It's pattern release day! I'm so excited to share this NEW Foundation Paper Pieced Block Pattern with you - and it's perfect for your fabric scraps.

FIND THE SCRAPPY CARROT PATTERN RIGHT HERE.

Monday, June 6, 2016

I Drank the Kool-Aid...& You'll Want To, Too!

If you've been on Instagram in the last couple of days, you've probably came across the new Stars and Stripes pattern from Thimbleblossoms. In a matter of just a few days, it's everywhere! I resisted the urge to start a new project for a solid 2 days & then I drank the Kool-Aid. Sunday at noon I started cutting fabric and by 5 pm I had 20 blocks. Take this as your warning, IT'S LIKE QUILTY CRACK!

The pattern features simple red, white, and blue flags sashed in a Bonnie & Camille signature teal fabric. Camille suggests using fat quarters for this project but I opted for grabbing fabric scraps, because let's be honest...I have a few to spare. Turns out, I like it the scappy version even more! Plus, there's a certain satisfaction from using up your stash & scraps for a project. Am I right or am I right?

Now I just have to decide what fabric to sash my Stars & Stripes quilt in -- I'll probably opt for the teal just like the pattern shows. Why ruin a good thing?!


Happy Sewing!
Megan 

Wednesday, February 10, 2016

How-To Mock-Up A Quilt Layout In Seconds


Hello, friends!

As quilters + creative people we tend to be are very visual. Sometimes it is hard for me to get a full grasp on what my finished project is going to look like (and let's be honest, the finished product is the best!). If you follow me over on Instagram or Facebook, you've probably seen me mock-up a quilt layout using my iPhone. I've found it's the best way to take a step back and look at fabric selection & balance without having all of your quilt blocks sewn...and it only takes a few seconds! I like to use the phone/tablet application called PicFrame -- it's available for purchase on both iTunes & Google Play. Here's how I do it:

First, you'll need to start with a square image of a quilt block or set of blocks. For this #ScrappyTripAlong sample I've been working on & sharing over on Instagram I chose to use 4 blocks and arranged them in a traditional Trip Around the World layout. It's important that you have a square image -- I like to take my picture from straight above the block(s) & then crop down to a square shape. It may take some practice to line things up.

Next open your PicFrame App and choose the 3x3 block layout on the last page (there are LOTS of mosaic templates to choose from!). 


Tap your finer on the first grayed out square in the top lefthand corner. 


Choose "Camera Roll".


Add the square image of your quilt block(s).


Add the same block(s) in all 9 squares. 


Tap your finger on the "Style" Tool to get rid of the white grid lines. 


Side the "Width" tool all the way to the left. 


To save your new image, tap your finger on the "Share" tool. 


Then tap on "Save".


And you are done -- it's so super simple! 


It's fun to play around with different block layout & sizes, too. 


Give a try and let me know what you think!

Happy Sewing, Megan 

Friday, December 4, 2015

#OhScrap! | HST Baby Quilt

IMG_4874

Hello, friends!

I have a love/hate relationship with fabric scraps. I love using up every last bit of fabric from a project & I especially love creating something beautiful out of fabric that others might throw away. On the flip side, I sometimes feel bogged down with scraps -- that feeling that I have to use the scraps up before I move on to the next project. Anyone else relate? That is why a good portion of my fabric scraps are passed along to my grandma. Especially leftover HSTs or what I call "bonus triangles". You know, those ones that are leftover from trimming a corner in certain quilt blocks.

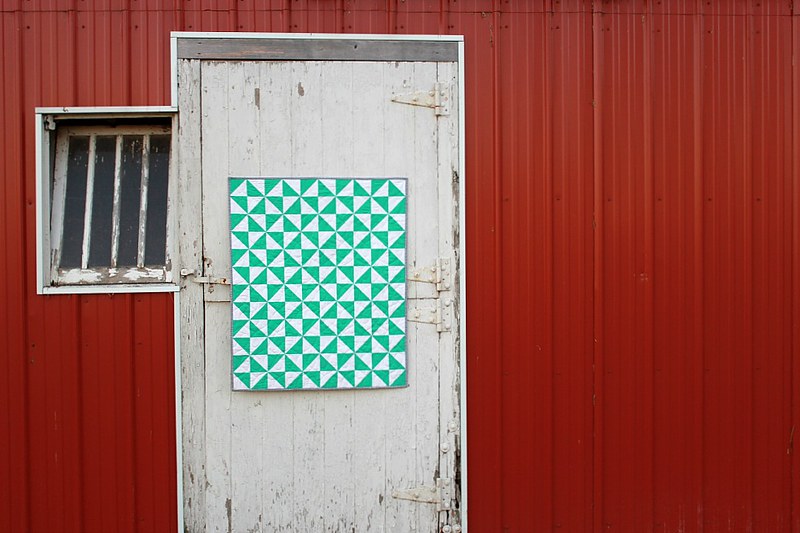
Almost two weeks ago, I finished up a quilt top for a special project that's going to be posted Monday (you can see a sneak peek here and here if you like!) and it left me with quite a few of those bonus triangles. I was ready to pack them up and pass them on to my grandma at our family Thanksgiving, but decided to sit and stitch them up on the spot (I must have been avoiding cleaning or something!). One hour turned into two, turned into three, and before I knew it I had sewn, trimmed, pressed 120 HSTs and was ready to stitch them into a baby quilt.

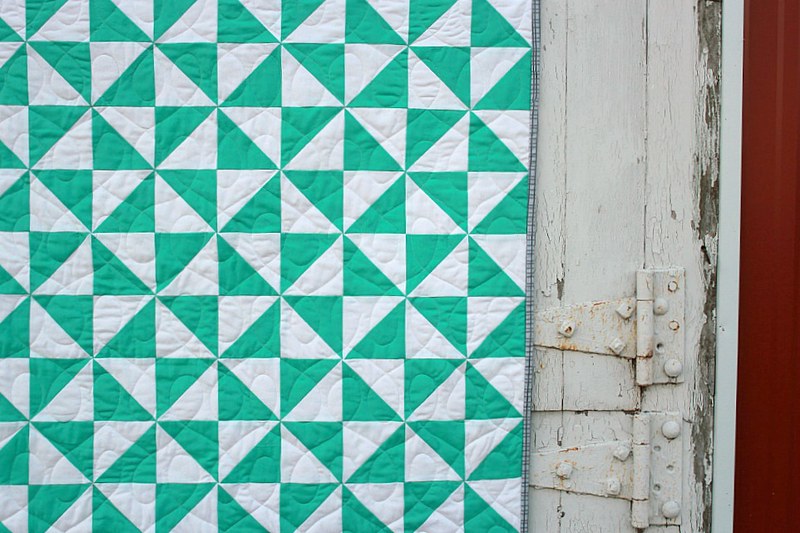
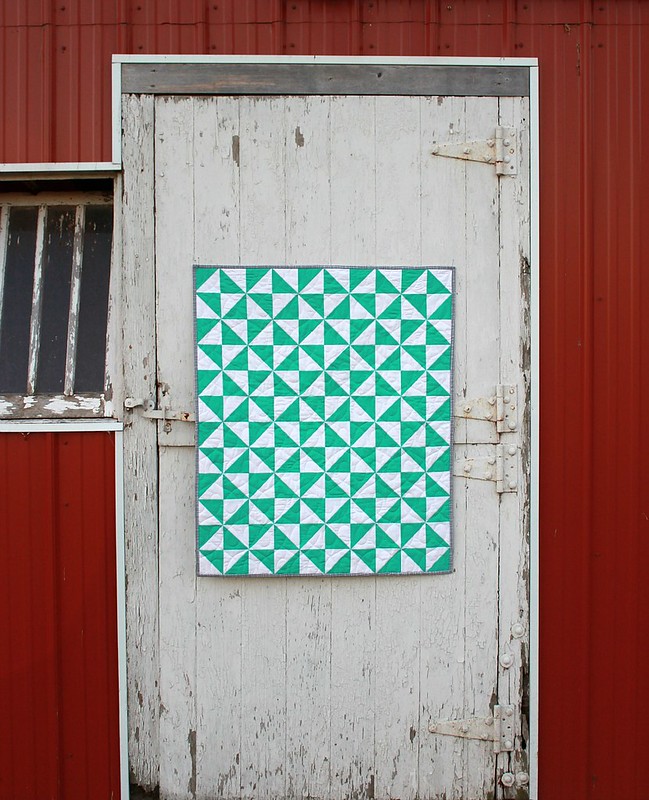
Each HST finishes at 3" square (cut 3 1/2") and I arranged them into 10 block x 12 block baby quilt finishing at 30" x 36". I didn't want to use a standard HST layout where each triangle points the same direction, so I opted to rotate every other block. It made for a really interesting, yet traditional block layout -- almost looking like pinwheels or a bunch of Quarter Square Triangles. I love it!

IMG_4871

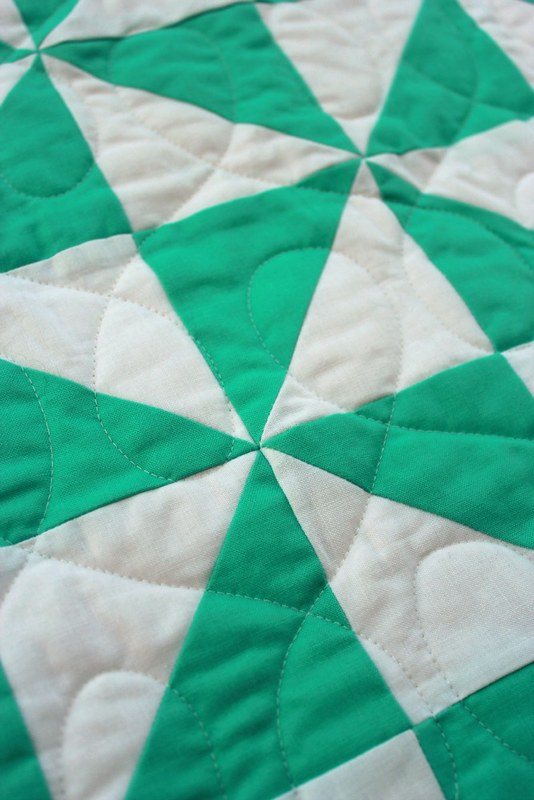
I just couldn't stop there, so the next morning I loaded it onto my new BERNINA Q24 quilt frame (more on that later, I promise) and tried my hand at a new pantograph pattern. The simple loops almost interlock from row to row, giving it a soft texture throughout. The binding is a gray on gray organic crosshatch and also happened to come from my stash bin (...okay, stash bins). Double bonus!

IMG_4864

All in all, I finished the entire baby quilt in less than 36 hours. I'm pretty sure that's a personal quilting record for myself! :)

Stop back Monday to see the quilt that produced this new baby scrap quilt. See you then!

Happy Sewing!
Megan

IMG_4863

HST Baby Quilt
30" x 36"

Fabric: Bella Solids
Pantograph: Modern Twist

Wednesday, June 10, 2015

Oh Scrap! | Scrappy Chain Quilt Layout Options

Hello, again!

Thank you, thank you, THANK YOU for all your kind words on social media, e-mail, and right here on the blog regarding yesterday's tutorial! Spreading the love of sewing & quilting as always been my goal and it makes my heart sing when others get just as excited about a new quilt as I do. :) 

As promised, today I'm suggesting a few basic layout options for your blocks in four basic square designs. Remember that this is just a guideline to start with, feel free to adapt your layout however YOU like! Let's get started.


3 Blocks x 3 Blocks | 32" x 32"
For this layout you'll need 5 BLOCK As & 4 BLOCK Bs


5 Blocks x 5 Blocks | 53" x 53"
For this layout you'll need 13 BLOCK As & 12 BLOCK Bs


7 Blocks x 7 Blocks | 74" x 74"
For this layout you'll need 25 BLOCK As & 24 BLOCK Bs

9 Blocks x 9 Blocks | 95" x 95"
For this layout you'll need 41 BLOCK As & 40 BLOCK Bs

Alright, now let's really have some fun! I put together 3 alternate ways to put the blocks together. I think you'll see that with a little creativity and turning on the blocks, you can quickly make all new designs!


I especially like the first alternate layout option myself. Don't be afraid to turn your quilt into your own unique design!

Now get busting those scraps. Don't forget to share your progress on social media using #ohscrap, #scrappychain, and #canoeridgecreations.

Happy Sewing!
Megan

Tuesday, June 9, 2015

Oh Scrap! | Scrappy Chain Tutorial


Hello, friends!

We recently made a move (for Brandon's job) about 200 miles south of where we'd been living, now to the middle of Iowa. In the 3 weeks we had to pack everything and move, I made it a point to get my sewing room picked up and (more importantly!) organized. With that came dealing with my scraps. I'll admit, I have a love/hate relationship with scraps. Most of that hate came from not having all the scraps in one place & especially from them not being organized. When we actually made the move I had 3 -- yes THREE -- large plastic totes FULL of scraps. What the what?! It just proved that my scraps are out.of.control. With all that being said, I'm on a mission to use up my scraps!

So I officially welcome you to a new blog series called Oh Scrap! I'll be sharing different tutorials, tips & tricks all about -- you guessed it -- SCRAPS. I sure hope you'll join along -- please share your scrap love using #ohscrap on social media so we can all cheer each other on!

Now fast forward to this past week, I won a scrap bundle from 1canoe2 on Instagram. Yay, even more scraps! I met Beth at this past Quilt Market in Minneapolis and I love, love, LOVE their new collection, Tucker Prairie, with Moda Fabrics. I mean buy all the fabric, make all the things kind of love. So naturally, I was beyond thrilled when the package arrived in the mail. You may have seen my picture I shared on Instagram & Facebook


That's when the Scrappy Chain design was born -- I loved it so much that I decided to put together a tutorial for you all! This is a fast & easy way to bust through some scraps and have fun along the way. Let's get started!


For this quilt, you'll need:
- Background Fabric
- Accent Fabric
- Assorted Scraps (at least 2" square)

This quilt uses two different block designs, we are going to call them Block A & Block B. First up, let's look at Block A.


For BLOCK A, you'll need:
- 33 scrappy squares, each measuring 2" x 2"
- 12 accent fabric squares, each measuring 2" x 2"
- 4 background fabric squares, each measuring 2" x 2"

Layout your block using the flowing diagram as a guide, first sewing your squares into rows. Then the rows into a finished BLOCK A. Sew using a 1/4" seam allowance & press seams as desired. With something like this, I prefer to press my seams in alternating directions. It makes for nested seams & perfectly matching points. 

Finished BLOCK A measures 10 1/2" x 10 1/2" (unfinished 11" x 11").


For BLOCK B, you'll need:
- 4 scrappy squares, each measuring 2" x 2"
- 8 accent fabric squares, each measuring 2" x 2"
- 2 background fabric rectangles, each measuring 2" x 5"
- 2 background fabric rectangles, each measuring 2" x 8"
- 1 background fabric rectangle, measuring 5" x 11"

Layout your block using the flowing diagram as a guide, first sewing your pieces into rows. Then the rows into a finished BLOCK B. Sew using a 1/4" seam allowance & press seams as desired.

Finished BLOCK B measures 10 1/2" x 10 1/2" (unfinished 11" x 11").


The overall layout of the quilt alternates between these two blocks -- Block A & Block B. Pretty easy, huh?

I've already whipped up a few blocks and am loving the process so far! Want in on a little secret that I like to use when starting a new project? Finish a block (or in this case two), take a picture of them using your phone, and then use a mosaic app to get a sneak peek on what the final layout is going to look like -- I use PicFrame on my iPhone! 

Now let's talk layouts & size. I'll be back tomorrow with a few images and cutting requirements for several different sizes -- mini quilt on up! -- but ultimately, it's up to you. I hope you find this design easy to adapt to what ever fabric scraps (or stash!) you want. 

Please share, share, SHARE your progress pictures -- scrap/fabric pulls, cutting, whatever you like! -- using #ohscrap, #scrappychain, and #canoeridgecreations. Let's cheer each other on and bust through some scraps!

xoxo, Megan