Showing posts with label quilts. Show all posts

Wednesday, February 10, 2016

How-To Mock-Up A Quilt Layout In Seconds


Hello, friends!

As quilters + creative people we tend to be are very visual. Sometimes it is hard for me to get a full grasp on what my finished project is going to look like (and let's be honest, the finished product is the best!). If you follow me over on Instagram or Facebook, you've probably seen me mock-up a quilt layout using my iPhone. I've found it's the best way to take a step back and look at fabric selection & balance without having all of your quilt blocks sewn...and it only takes a few seconds! I like to use the phone/tablet application called PicFrame -- it's available for purchase on both iTunes & Google Play. Here's how I do it:

First, you'll need to start with a square image of a quilt block or set of blocks. For this #ScrappyTripAlong sample I've been working on & sharing over on Instagram I chose to use 4 blocks and arranged them in a traditional Trip Around the World layout. It's important that you have a square image -- I like to take my picture from straight above the block(s) & then crop down to a square shape. It may take some practice to line things up.

Next open your PicFrame App and choose the 3x3 block layout on the last page (there are LOTS of mosaic templates to choose from!). 


Tap your finer on the first grayed out square in the top lefthand corner. 


Choose "Camera Roll".


Add the square image of your quilt block(s).


Add the same block(s) in all 9 squares. 


Tap your finger on the "Style" Tool to get rid of the white grid lines. 


Side the "Width" tool all the way to the left. 


To save your new image, tap your finger on the "Share" tool. 


Then tap on "Save".


And you are done -- it's so super simple! 


It's fun to play around with different block layout & sizes, too. 


Give a try and let me know what you think!

Happy Sewing, Megan 

Monday, August 12, 2013

Ombre Love | A Finished Quilt

IMG_2246
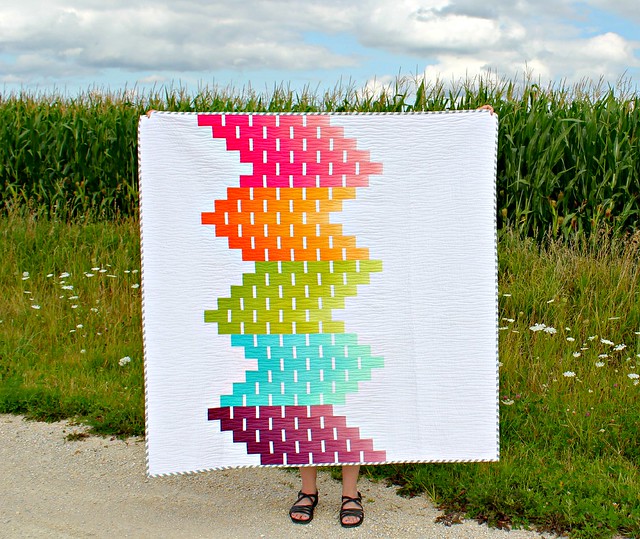
Have you noticed the ombre fabric trend that seems to keep popping up in fashion & home decor? Well it's now made its way into the quilting world! Vanessa Christenson's first fabric collection, Simply Color, features five different ombre quilting cottons and they were the inspiration for this quilt called Ombre Love. 

Ombre Love | A Finished Quilt

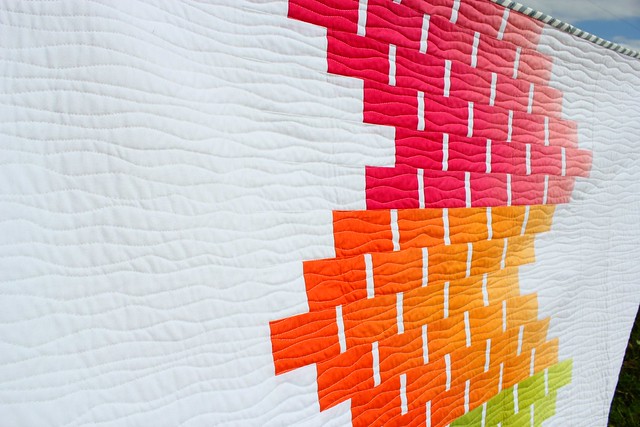
Each ombre strip finishes 2" wide & is broken up with thin strips of a white Kona cotton -- creating a "paint chip" effect. Those "paint chip" strips are then staggered back and forth, giving the quilt lots of movement. The vibrant colors really pop against the crisp, clean white! 

Ombre Love | A Finished Quilt

I quilted this Ombre Love quilt using horizontal wavy organic lines using my BERNINA walking foot and Aurifil thread in color 2024. The wavy organic lines create a fun quilted texture & keep movement in the entire design. If you haven't given wavy organic quilting a try, you should! It's a simple & forgiving way to quilt! 

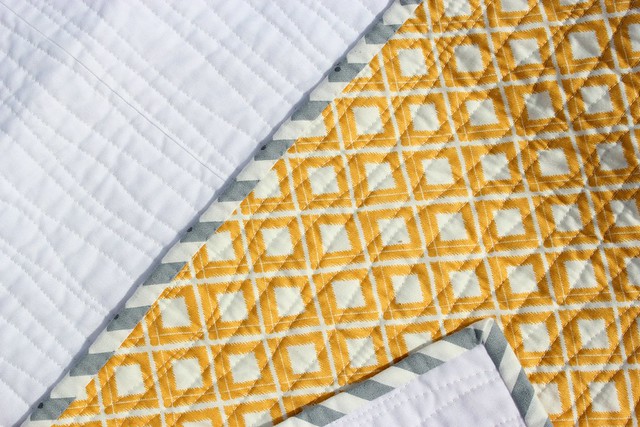
The binding is a gray zig-zag design from the Simply Color fabric line. I love the "bias binding" look from using a chevron/zig-zag fabric! 

Ombre Love | A Finished Quilt


The finished Ombre Love quilt measures 58" x 58".

Happy Monday!
xo, Megan 
Find Simply Color at:

Thursday, August 8, 2013

Chevron and On | A Finished Quilt

IMG_2108
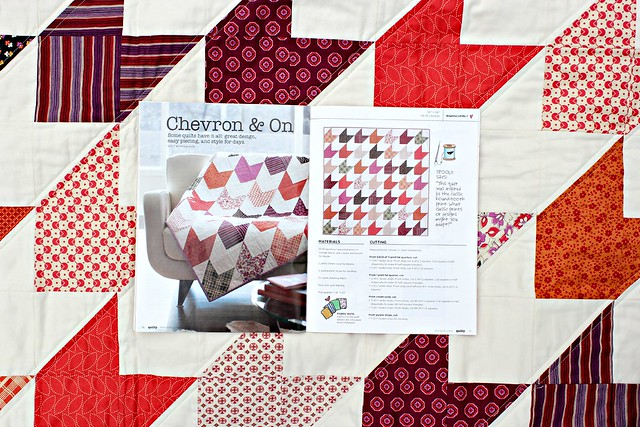
As summer speeds by, it seems like there just aren't enough hours in the day. I find myself squeezing in a few minutes at the machine here and there, sharing a quick Instagram picture or two, and never actually sharing the finished project on the blog. That has to change! Starting with today's finished quilt, Chevron and On.

IMG_2136
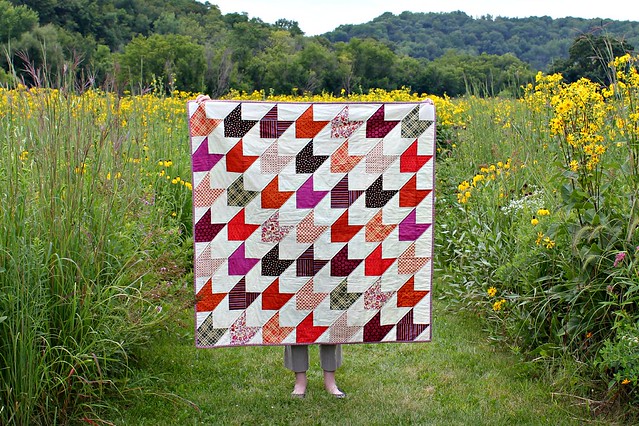
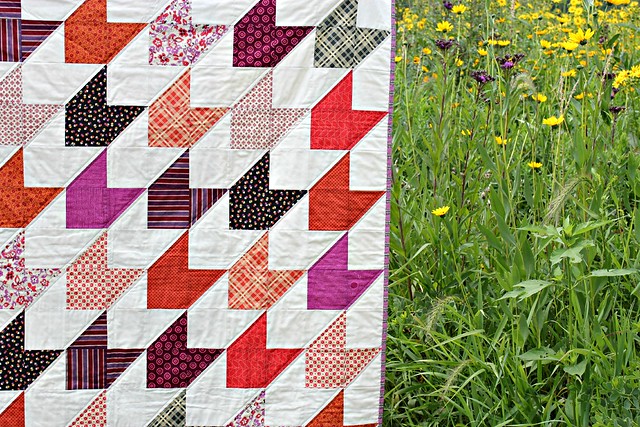
Chevron and On was featured in the March/April 2013 issue of Quilty magazine. This houndstooth inspired design is made up of half square triangles alternating with a patchwork square. Simple & quick! The fabric used is Chicopee by Denyse Schmidt for Free Spirit Fabrics. DS fabrics are some of my favorites -- the vintage inspired designs & colors are wonderful! If you'd like to make a quilt using the same fabrics as my quilt, you can find a complete fabric kit here.

IMG_2131

Sticking with the quick & simple design, I echoed the houndstooth pattern with straight-line quilting, on the diagonal, using my BERNINA walking foot and a matching Aurifil thread. Just enough quilting to complement the design!

IMG_2138The pattern & quilt are also featured in this fun little Quilty video -- check it out!

xo, Megan

Monday, August 5, 2013

Giant Starburst | A Finished Quilt

IMG_2054

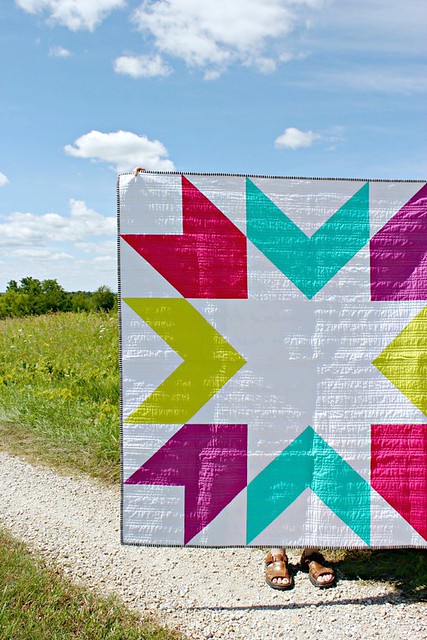
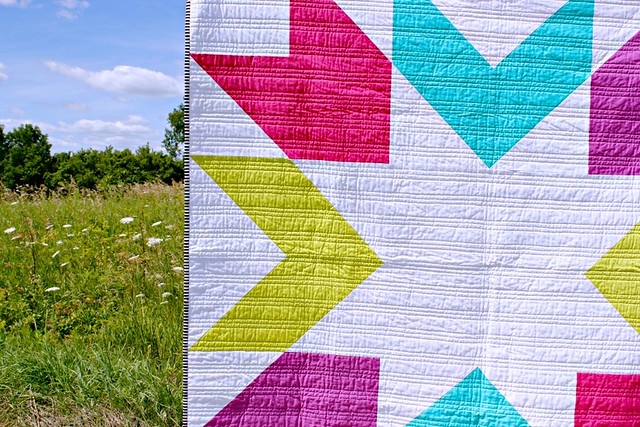
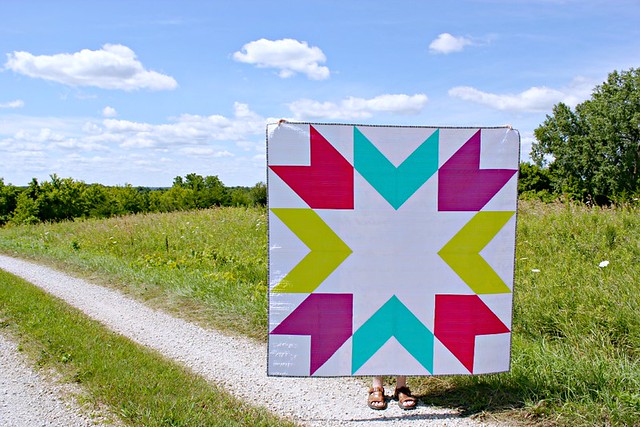
Hello & happy Monday! This summer is flying by so quickly -- August, already?! Today I am sharing a quilt that was actually finished earlier this Spring. Some of you may recognize it from Instagram or even this sneak peek progress post. This Giant Starburst quilt is a larger, one block design from March's Fresh Mini Quilt Club
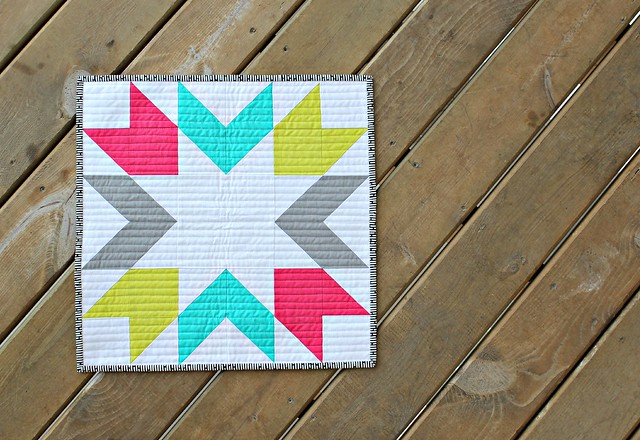
Here's a look at the mini quilt!

Fresh Mini Quilt Club | March 2013

For the Giant Starburst quilt I used a vibrant selection of Pure Element solids from Art Gallery Fabrics  -- Cherry Lipgloss, Lemonade, Cozumel Blue, and Verve Violet. The color saturation just "pops" against the crisp, clean white background fabric. 

IMG_2064


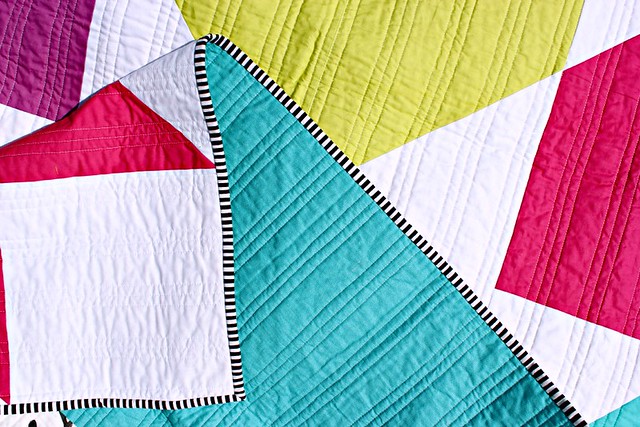
I quilted this lap size quilt using my favorite straight-line quilting technique, my BERNINA walking foot, & of course, Aurifil thread (50 wt., color 2024). I did play around with the straight-line quilting pattern -- three close lines & then a larger gap -- which really makes an interesting texture!

IMG_2103

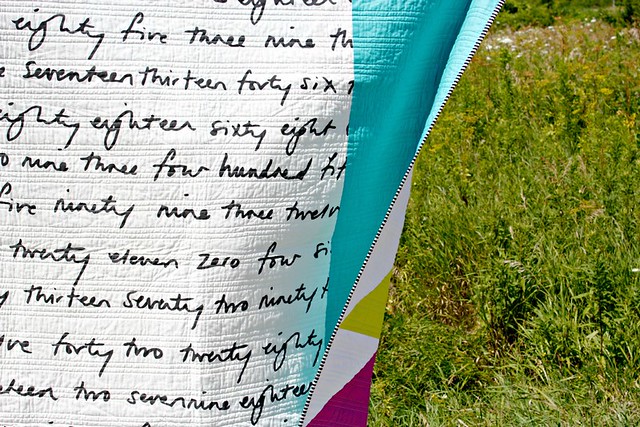
The backing fabric is a text print from Ikea -- one of my favorites! I chose one of my all time favorite black & white binding fabrics to finish off the design. Unfortunately it's an out of print Moda fabric, but there are plenty of stripped fabric alternatives from several different fabric manufacturers. 

IMG_2086

IMG_2048

The finished quilt size is 60" x 60".

Find the fabric here:
Pink Castle Fabrics
Fat Quarter Shop

Have you experimented with block size before? Feel free to share your projects below, I'd love to see!

xo, Megan 

Wednesday, April 10, 2013

A Book & A Winner.


I'm very excited to share some book news with you all. I have a quilt pattern included in a new book coming out this fall from Stash Books, called Modern Bee —13 Quilts to Make with Friends. Lindsay Conner of Lindsay Sews compiled the book based off an online quilting bee we -- along with several other talented ladies -- participated in last year. I can't wait to share my quilt + pattern with you all later this year! Head on over to the Modern Bee website for more details & tips on how to join an online quilting bee.

The book will be released October 1, 2013, but you can pre-order a copy today!


I also have a winner to announce!  The three lucky readers -- each winning 3 down-loadable PDF patterns from Sew Sweetness -- are:

one | number 33: Alcea Rosea 31

two | number 50: Jada Graff

three | number 111: Jo Nell

Congrats to the winners -- I'll be passing your information along to Sara shortly.Thanks again to Sara Lawson from Sew Sweetness for sponsoring the giveaway! If you'd like to purchase one of Sara's patterns, head on over to her shop.

Follow Sara Lawson on:
Blog | www.sewsweetness.com
Facebook | Sew Sweetness
Twitter | @sewsweetness

Happy Wednesday!
xo, Megan.

Tuesday, March 5, 2013

Enjoy the Process | Giant Quilt Blocks

Hello, happy Tuesday!

I just can't get the idea of GIANT quilt blocks out of my head. There's something so simple & stunning about a one block quilt, where traditional piecing meets modern quilting. I first played around with the idea on my Dear Stella quilt using Jeni's Giant Vintage Star Quilt Tutorial as inspiration, and I just can't get enough. Plus, GIANT quilt blocks = a quick finish! 

IMG_1052


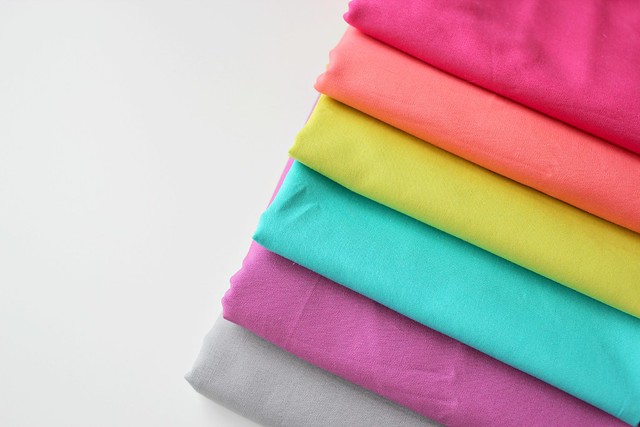
Sticking with the simple style of a one block quilt, I'll be using a variety of Art Gallery Fabrics Pure Element solids. The colors are (from top to bottom): Cherry Lipgloss, Coral Reef, Lemonade, Cozumel Blue, Verve Violet, and Ash. You can find a large selection of these solids at both Pink Castle Fabrics and Fat Quarter Shop.

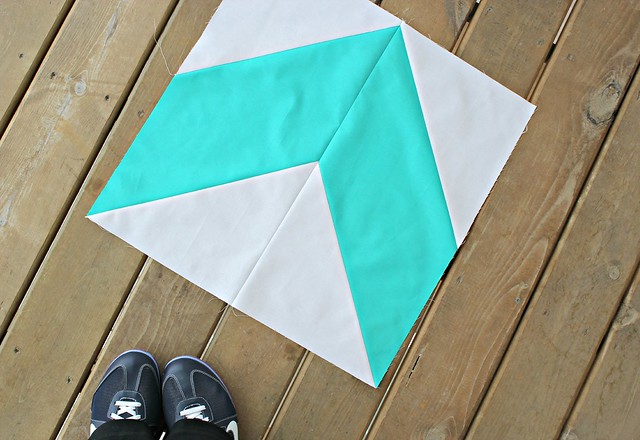
IMG_1023As for the design, I'll be using the Starburst block from this month's Fresh Mini Quilt Club. It'll end up looking very similar to this mini quilt I shared last week, just bigger! This GIANT block quilt will finish at 60" x 60", the perfect throw size. I'm really excited to finish it up and bring some fresh + Spring colors into our home. We are so ready for Spring!

xo, Megan.

Wednesday, February 13, 2013

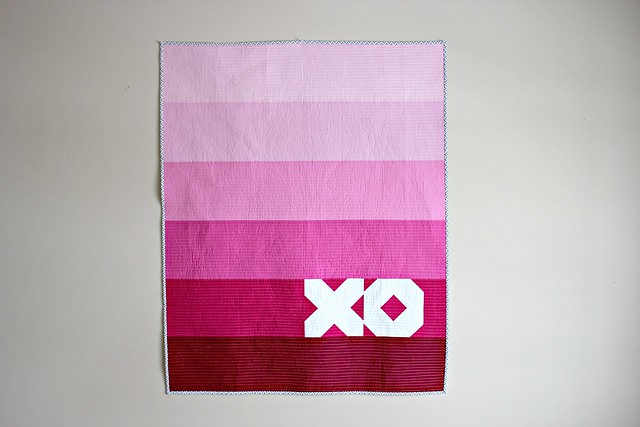
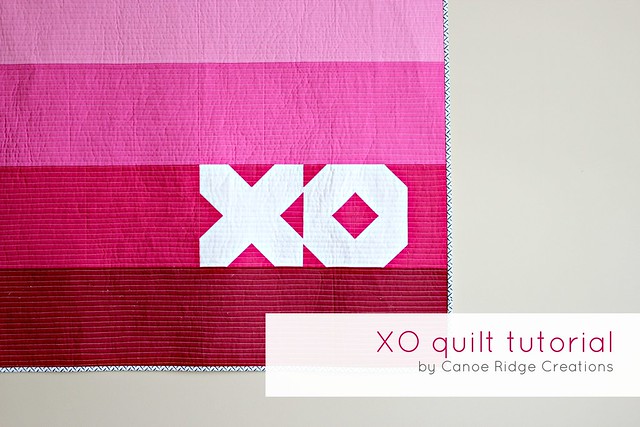
XO Quilt Tutorial

XOQuiltTutorial
Today I'm sharing a quick + easy quilt tutorial just in time for Valentines Day. Finishing at 42" x 52", it would make a great baby quilt too! All you need is a little fabric, your sewing machine, and you could have the quilt top complete in one afternoon -- yay! Let's get started.

:: FABRIC REQUIREMENTS ::
Fabric A (Kona Medium Pink) - 1/3 yard
Fabric B (Kona Carnation)1/3 yard
Fabric C (Kona Candy Pink) - 1/3 yard
Fabric D (Kona Bright Pink) - 1/3 yard
Fabric E (Kona Pomegranate) -1/3 yard
Fabric F (Kona Wine) - 1/3 yard
White Fabric - 1 fat quarter
Binding - 1/2 yard

:: CUTTING ::
Fabric A - one strip, 9 1/2" x 42"
Fabric B - one strip, 9 1/2" x 42"
Fabric C - one strip, 9 1/2" x 42"
Fabric D - one strip, 9 1/2" x 42"
Fabric E - one strip, 9 1/2" x 21 1/4"; one strip, 9 1/2" x 3 1/4"; and sixteen squares, 2 1/2" x 2 1/2"
Fabric F - one strip, 9 1/2" x 42"
White Fabric - eight squares, 5" x 5"

:: MAKING THE BLOCK UNITS ::

Draw a diagonal line, from corner to corner, on the wrong side of one 2 1/2" square (Fabric E). Layer one 5" white square and one marked 2 1/2" square (Fabric E), right sides together, with the 2 1/2" square (Fabric E) in the upper right corner. Sew on the marked line. Trim the corner, leaving a 1/4" seam allowance. 

Press seam outward.


Draw a diagonal line, from corner to corner, on the wrong side of one 2 1/2" square (Fabric E). Layer one 5" white square and one marked 2 1/2" square (Fabric E), right sides together, with the 2 1/2" square (Fabric E) in the lower left corner. Sew on the marked line. Trim the corner, leaving a 1/4" seam allowance. Press seam outward. 


Repeat to make a total of 8 block units.

:: MAKING THE "X" BLOCK ::


Take 4 block units and arrange them in an "X", see diagram above. Pin and sew using a 1/4" seam allowance, first into rows then into one block. Press seams open.

:: MAKING THE "O" BLOCK ::


Take 4 block units and arrange them in an "O", see diagram above. Pin and sew using a 1/4" seam allowance, first into rows then into one block. Press seams open.

:: SEWING THE QUILT TOP ::


Using the diagram above, layout the quilt top. Pin and sew using a 1/4" seam allowance, press open.

:: QUILTING ::

IMG_0911
I choose to use 1/2" straight-line quilting to finish my XO Quilt using Aurifil 50 wt. (2021). 

:: BINDING ::

Check out these two posts for helpful information & step-by-step instructions:
      Double Fold Binding Tutorial | Part One
      Double Fold Binding Tutorial | Part Two

IMG_0946


XO Quilt
Finished Size: 42" x 54"

If you make this quilt using my tutorial please share in the Canoe Ridge Creations Flickr group -- I love seeing your creations!

xo, 
Megan.


Sunday, January 20, 2013

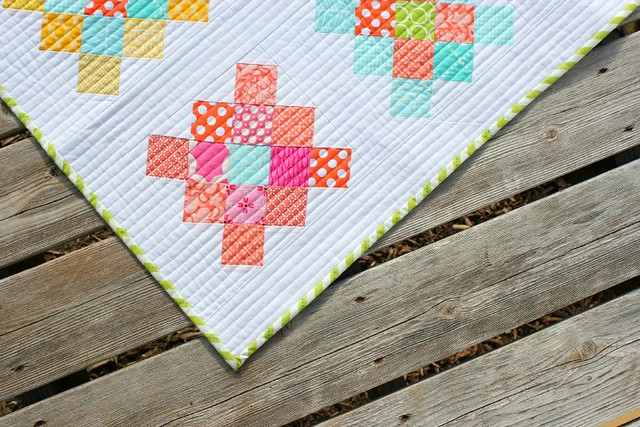
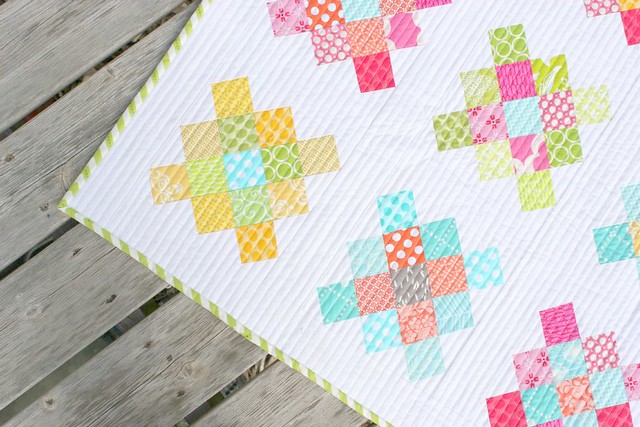
Granny Square Quilt

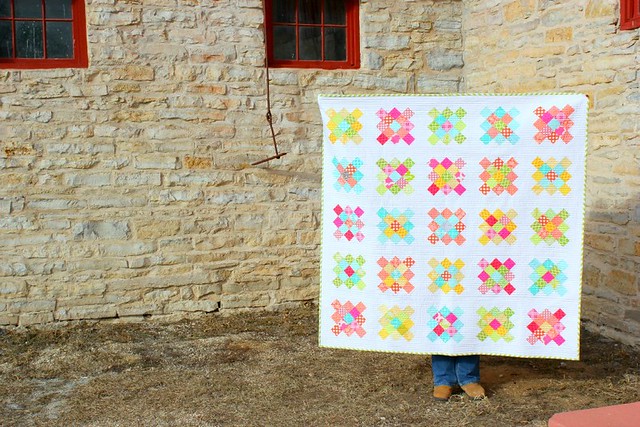
Granny Square Quilt #finishit2013

Earlier this week, I mentioned I'm on a mission to finish it in 2013. Now who's ready to see the first finish? I started my Granny Square Quilt in the Spring of 2012 using this tutorial from Blue Elephant Stitches. I chose to use a fresh + cheery combination of fabrics -- all of which came from my stash -- and paired them with Kona white. The colors just pop off the quilt and remind me of Spring! 

Granny Square Quilt #finishit2013


Granny Square Quilt #finishit2013I straight-line quilted lines 1/2" apart using 50 wt Aurifil (color 2021) and my walking foot. The dense + close quilting took a while to finish but I'm so happy with the results! For those of you wanting to give straight-line quilting a try I say don't be intimidated and go for it!  Make sure you use your walking foot, a new needle (I use a Universal needle, size 80/12), lengthen your stitch (on my machine I use a 2.5 or 3.0 stitch length), and use the "needle down" position, if your machine has the option. Most importantly make sure you quilt using a steady + constant speed -- I've found it helps keep my stitches straight. 

Granny Square Quilt #finishit2013

My favorite thing about this quilt is the binding! I've always loved the look of bias binding but I'm not a fan of making it. Well here's a fool proof way to achieve the bias binding look -- use zig zag or chevron fabric. The fabric I used for this quilt binding is from Simply Color by V and Co. It comes in gray (my favorite!), green, egg plant, and orange. The scale on this zig zag print is perfect for 2 1/2" double-fold binding! You can find all four color ways at Pink Castle Fabrics and Fat Quarter Shop.

Happy Sunday!
xo, megan. 

Sunday, November 25, 2012

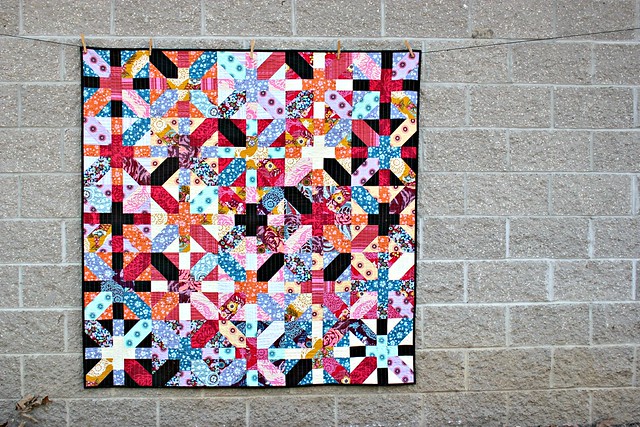
{Sew} Modern Monday | x and + Quilt


Good morning & welcome to {Sew} Modern Monday! With the holidays upon us and the New Year around the corner, I'm on a mission to finish up some projects that have been sitting around this year. We all have a few of those projects, right? 


IMG_0459

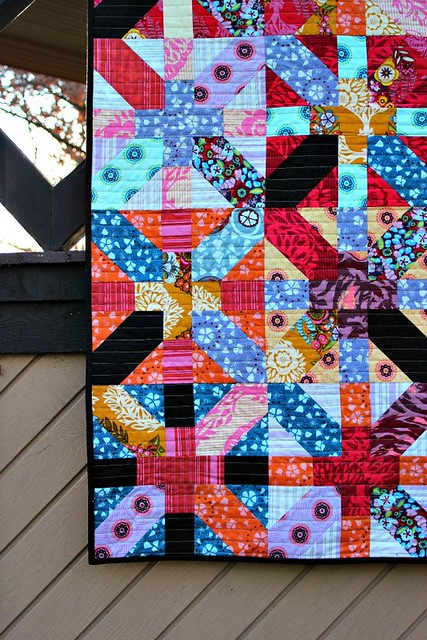
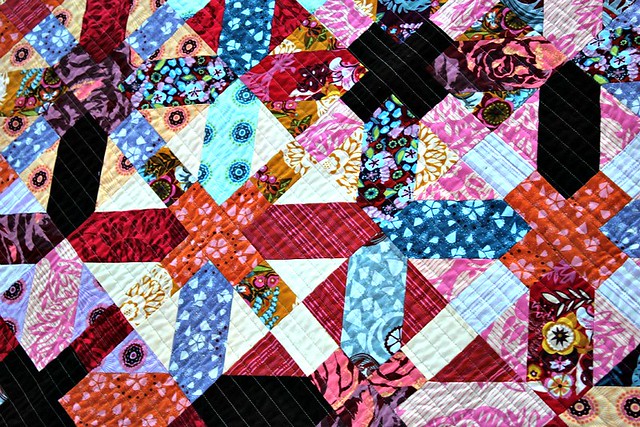
I'd finished up this x and + quilt top back in January of this year (and even made a mini quilt with the left-over half square triangles!), but for one reason or another just hadn't gotten around to the quilting and binding. The blocks were made by my lovely {Sew} Beautiful Bee-mates (thank you Lee, Elizabeth, Cara, Katie, AnneMarie, Katie, Cherie, Brooke, Angela, and Emily! ). I asked the ladies to make 12" blocks following this tutorial from badskirt.


IMG_0399

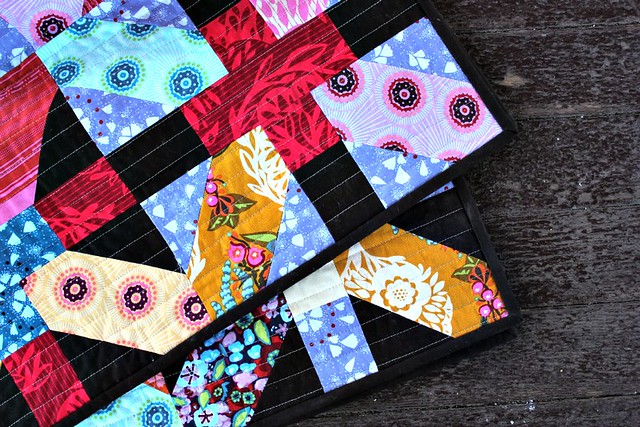
Simple straight-line quilting using a neutral 50 wt. Aurifil thread seemed like the perfect match to the vibrant Anna Maria Horner fabrics. I really like the subtle modern feel the quilting gives to the overall design -- not to mention the awesome texture! Surprisingly, the rich chocolate binding is actually my favorite part about the entire quilt. I just might have to start sneaking more browns into my projects!

IMG_0431


IMG_0452
Quilt Stats
Name: x and + Quilt
Size: 60" x 60"
Pieced by: myself and the lovely ladies of the {Sew} Beautiful Bee
Quilted by: myself, using 50 wt. Aurifil thread

So here's to finishing up an un-finished project and onto the next one! If you'd like to join me on my mission to finish up a few projects before the New Year, use #finishit2012 on Instagram & Twitter -- I'd love to see your progress! 

Happy Sewing!
xo, megan. 


Now it's time for your {Sew} Modern Monday link-ups! Here's how it works:

[1] Link-up a blog post (or fickr picture!) featuring a finished project. Modern home decor, quilts, bags, garments are all welcome! Please be sure to add a link back to this post, too -- or just grab the button over on the sidebar. 

[2] Visit & comment on other {Sew} Modern Monday link-ups!