Showing posts with label Amy Butler. Show all posts

Sunday, October 2, 2011

{Sew} Modern Monday #37

It's that time again....

{Sew} Modern Monday at Canoe Ridge Creations

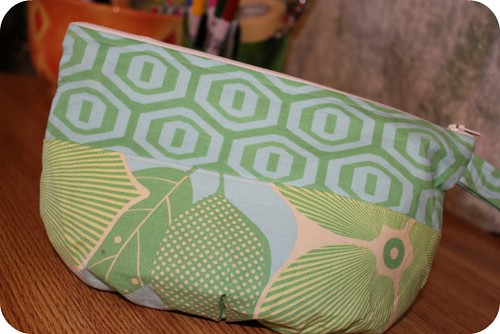
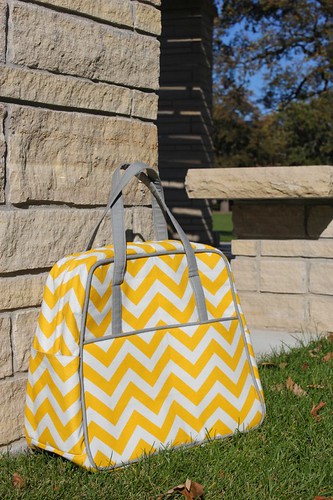
Ever since the day Sewing Summit became a reality, the Amy Butler Weekender has been on my sewing to-do list. I promised myself that no.matter.what I would have a Weekender to take to Salt Lake City. It's the perfect bag--big, tailored, professional. And, intimidating! But I was determined.

amy butler weekender bag.

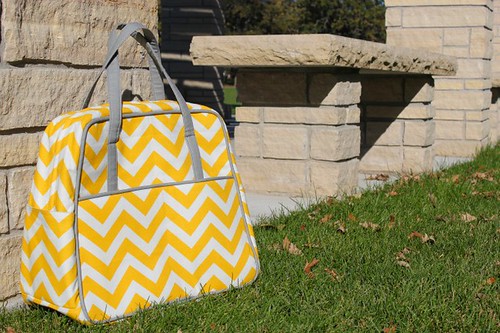
I had originally bought a kit a few years back--with some of Ms. Butler's fabric--but after I came across this bag made by Ali, it was thrown right out the back door. I knew had to have those yellow zig-zags--but with gray! And I found it--half price!--at a fabric chain store. Score!

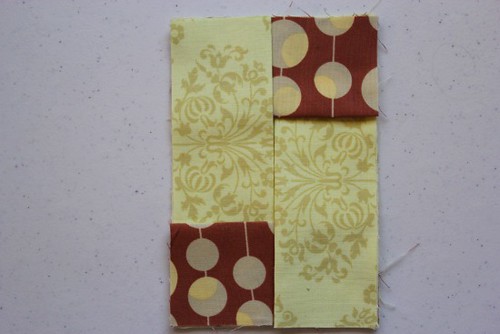
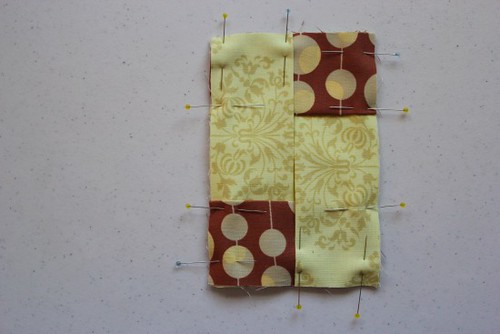
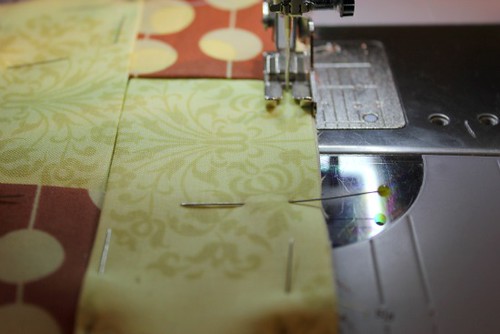
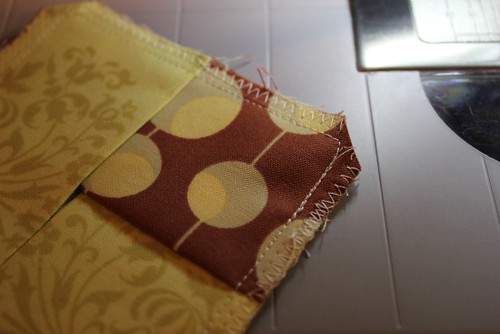
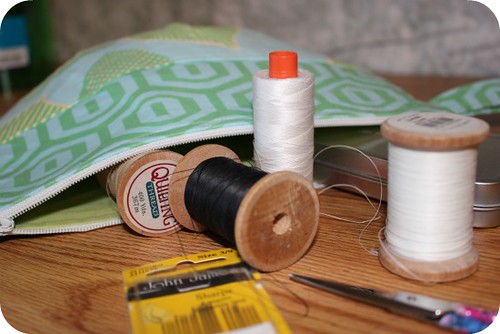
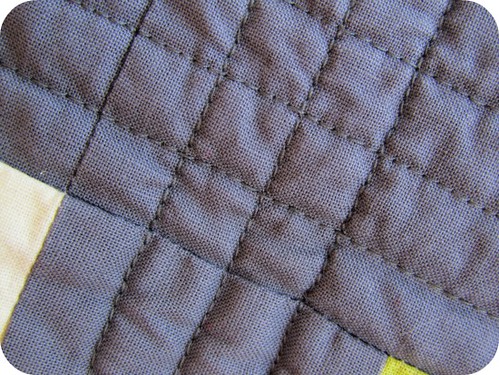
So I cut out my outer fabric. Then I cut out my lining fabric. And I cut out my fusible interfacing. And then I cut out my Peltex.  And then I cut, and I cut, and I cut.  You get the picture, right? Several days (i kid, i kid--hours.) later I started the bag construction.

amy butler weekender bag.

At this point I realized the most valuable tool of Weekender Bag construction--find a friend to text, lots! Elizabeth and Michelle and I all tackled our Weekenders at the same time and were able to share tips, questions, and frustrations. And it made a world of a difference--especially when you get stuck on tricky steps (was it 10b??). Thanks, ladies!

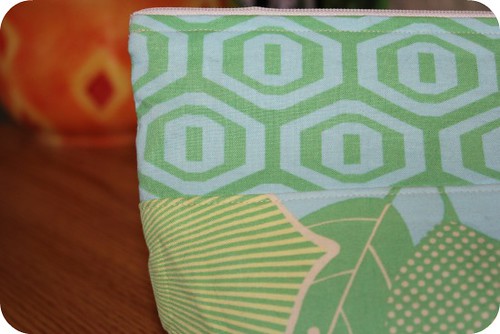
In the end, I am so happy I conquered the Weekender Bag because it became a sewing right of passage for me. :) There were some serious frustrations, and I may have cursed Amy Butler a time or two, but in the end it's totally worth it. I love this bag!

amy butler weekender bag.

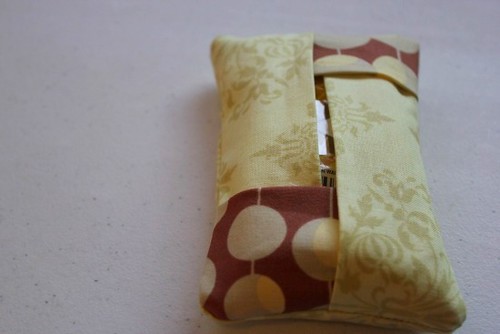
And now I'm one step closer to Sewing Summit. Just have to finish up my name tag, a little zippy pouch, and possibly a new laptop cover.

working on a name tag for #sewingsummit

On to {Sew} Modern Monday! It's time for you to link up your modern finishes! A special thanks to everyone who linked up last week--50!! But first a few house keeping details:
  • Because I will still be in SLC next Monday, we will be taking a break from {Sew} Modern Monday and I promise to be back the following Monday (10/17)!
  • Remember--this is SEW Modern Monday.  So....a) your finish should involve sewing. :), b) it should be a finish, and c) please link back to CRC. :) please, and thanks. rule benders will magically disappear. 
Hit it!

Thursday, March 3, 2011

chic Kleenex case {the tutorial}

You know those little individual Kleenex packages?  The ones that fit perfectly in your purse?  How about spicing them up a bit with a chic fabric cover?  All you need is a little fabric and about 20 minutes.
chic Kleenex case
Materials Needed:
main fabric (at least a 6" x 12" piece)
accent fabric (at least a 4" x 8" piece)
thread
1 individual Kleenex package


Directions:
1.) Cut 3 - 6" x 4" rectangles out of the main fabric and 2 - 4" squares out of the accent fabric.
klennex(a)
2.) Press the two accent fabric squares in half, wrong sides together.  Press two of the main fabric rectangles in half (the long way), wrong sides together.
klennex(b)
3.) Place the remaining main fabric rectangle right side up.
klennex(c)
4.) Place one of the pressed main fabric rectangles (from Step 3) on the left hand side of the remaining main fabric rectangle.  Making sure the folded edge is towards the center of the unit.
klennex(d)
6.) Repeat in the order shown below.  Making sure the folded edge is always towards the center of the unit.
klennex(e)
6a
klennex(f)
6b
klennex(g)
6c
klennex(h)
6d
7.) Pin, pin, pin.
klennex(i)
8.) Sew 1/4 inch around the entire unit.  
klennex(j)
9.) Zig-zag stitch around the entire unit.
klennex(k)
10.) Clip corners.
klennex(l)
11.) Turn right side out.  Insert Kleenex package.  And enjoy!
chic Kleenex case


chic Kleenex case

xo, Megan

Monday, February 14, 2011

{Sew} Modern Monday #6

Welcome to another edition of 
{Sew} Modern Monday here at Canoe Ridge Creations!
{Sew} Modern Monday at Canoe Ridge Creations
This week, I wanted share this little bag I made using the Stash and Dash Bags pattern by Amy Butler.  If you are new to her patterns, I would highly recommend starting with this pattern.  The project itself is small and the directions are not as intense as some of the more advanced Amy Butler patterns.
stash and dash bag.
If you can't tell already, I [heart] all things Amy Butler.  
Her fabric, her books, her patterns.  
Everything.
stash and dash bag.
I love the fact that this pattern was small enough to finish in just a few hours, yet it still looks tailored.  I think that is why I am always drawn to her patterns.  They are homemade and look professional.
stash and dash bag.
It is perfect for all my hand sewing supplies 
and small enough I can throw it in a purse.  
stash and dash bag.
And now before you link up,
I thought I would share some flickr goodies.  
Happy Valentines Day Everyone!
Happy Valentines Day!

Now it is your turn to link up. Here are the rules...
1.) Link up a recent sewing project finish using modern fabrics and/or designs.  Please link to the specific post, not just your blog home page.
2.) Link back to my blog in your post.  If you want, grab the {Sew} Modern Monday button over on the sidebar and add it to your blog.  That way you won't have to remember each week.
3.) Please check out other people's {Sew} Modern Monday links.  What fun is a linky party without comments?  Please take the time to comment on other people's posts.
4.) If you like, join the flickr group and share your pictures there as well.

Tuesday, February 8, 2011

Super Bowl Sewing

While my intentions were to enjoy the Super Bowl with little hand sewing, it just didn't happen.  Sadly, I only caught the half-time show.  And why you might ask?  Well, because I just couldn't get myself to leave the sewing room! The Boyfriend and I enjoyed the Super Bowl festivities at my parents house. So while he and my father enjoyed a little bonding time, my mom, sister, and I enjoyed a little Sewing Extravaganza.  Let me just say, seeing 3 Bernina's going to town sewing makes for quite the sight!
crazy{9} wall quilt
I decided to tackle a work in progress since my list seems to keep growing.  Funny how that happens.  So this little guy, made with some leftover blocks from my crazy {9} quilt, went from WiP to a finish.
crazy {9} wall quilt
My intentions were for it to be a wall hanging in my bedroom, and it might make it there someday, but for now I enjoy admiring it on the dining room table.  I went with straight line quilting through the Kona Coal sashing, and I love it!
crazy {9} wall quilt


crazy {9} wall quilt
Quilt Stats:
Name: crazy {9} Wall Quilt
Size: 36" x 36"
Designed by: Me
Quilted by: Me
Fabrics: Midwest Modern by Amy Butler
and Kona Coal

How was your weekend?  Did you get a little Super Bowl sewing in?
 
xo, Megan

Tuesday, January 11, 2011

stash busting and finishing up WiPs. check and check.

First off, I want to thank everyone who participated in yesterday's {Sew} Modern Monday!  I am very excited to see everyone's great modern sewing and can't wait to see where this linky party goes.


Well 2011 seems to be off to a great start over here, especially in terms of sewing.  Besides my specific quilting goals for the year, I really want to start using up more of my stash and finishing up some forgotten WiPs.  Since there seems to be plenty of both taking up space in my sewing area, it really shouldn't be a problem.  Right?  So far, so good.


Here's another finish to add to the list.  I had started cutting an Amy Butler (can you tell I have a thing for Ms. Butler's fabric?) charm pack into rectangles over the summer, hoping to make a stacked coin quilt of some sort.  Pieced them into strips, and well, *cough*, set it aside.  So in the spirit of finishing things up, I grabbed the strips, added a little Kona solid, some straight line quilting, gave it a wash, and ta-da


We have a baby quilt.  While I know it by no means is my new favorite quilt, I love the feeling of finishing things up!  There is so much satisfaction in taking a work-in-progress and turning it into a finish, no matter the size.


Quilt Stats:
Name: Coins {baby quilt}
Size: 40" x 40"
Designed by: Me
Quilted by: Me
Fabrics: Midwest Modern by Amy Butler,
and Kona cotton


That makes this finish number two of 2011, and they both started out as forgotten WiPs.  At this rate, I just might get through all my WiPs before 2012! :)  Happy Sewing!


I am linking this up to Fabric Tuesday!

Monday, January 10, 2011

{Sew} Modern Monday #1

Welcome to the first ever {Sew} Modern Monday at Canoe Ridge Creations! 

One of my goals for 2011 is to finish some of my WiPs, there is no shortage of those over here. :)  So starting the year off with a bang, here is my first finish of 2011.  


I originally saw this quilt (sorry I can't seem to find the post) from Twin Fibers and I was hooked.  It uses 2 1/2 inch squares, perfect for this Amy Butler charm pack.


I first sewed the squares onto the Kona solid background, and then followed these lines in my quilting.  I really like the look of the double stitch lines.

I love the look of the raw edges.


Quilt stats:
Name: Scrappy Squares
Size: 38" x 38"
Fabrics: Amy Butler and Kona Natural

Now it's time for the fun part, your finishes!  

Here are the rules:
1.) Link up a recent sewing project using modern fabrics and/or designs.  Please link to the specific post, not just your blog home page.
2.) Link back to my blog in your own post.  If you want, grab the {Sew} Modern Monday button over on my side bar and add it to your blog page.  That way you won't have to remember each week.
3.) Check out other people's {Sew} Modern Monday links.  What fun is a linky party without comments?  Please take the time to comment on other people's posts.
4.) If you like, join the flickr group and share your pictures there as well.


Thursday, September 9, 2010

{ round and round }

It seems like no matter what,  I can't stray too far from Amy Butler fabric.   The colors are so vibrant and beautiful.


So, here is yet another quilt I have started using her fabric.  I used a charm pack made up of several different Amy Butler fabric lines.


Paired with a Kona Cotton solid fabric, I decided to cut 2.5" circles from the centers of the charm squares and then sewed .25" around both the positive and negative spaces leaving the raw edges.


I am really excited to see how it will look all pieced together and quilted!